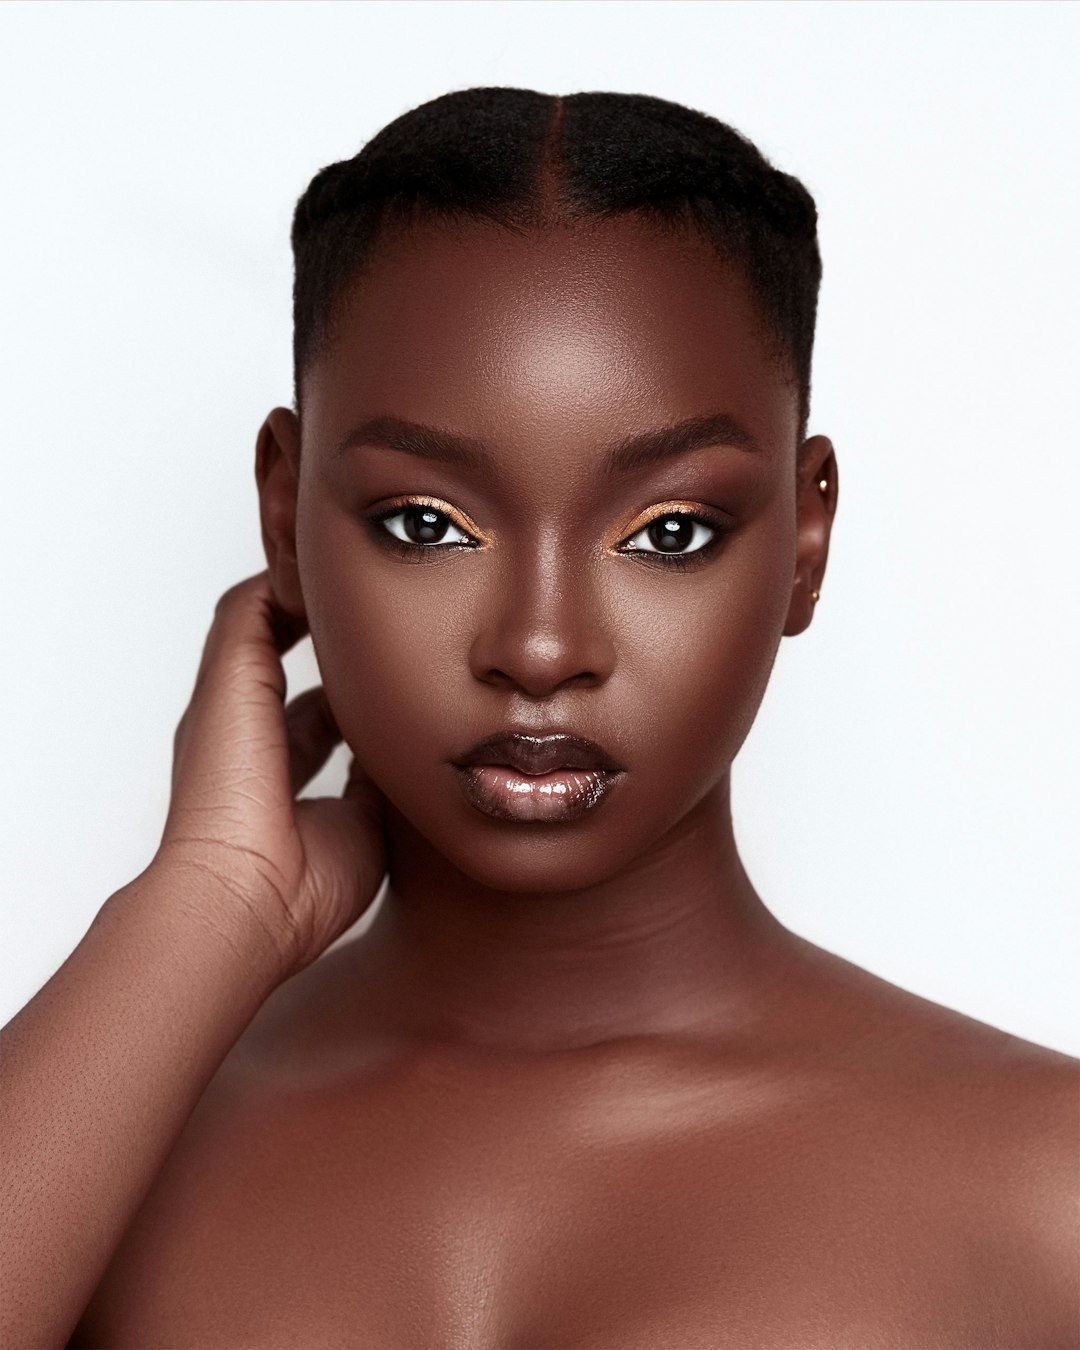
The eyes are often considered the focal point of any makeup look. As a professional visagiste and makeup educator, I've found that mastering eye makeup techniques can transform not just your appearance but also your confidence. In this comprehensive masterclass, I'll share professional techniques, product recommendations, and eye-specific solutions that will elevate your eye makeup game regardless of your skill level.
Understanding Eye Shapes and Proportions
The first step to creating flattering eye makeup is understanding your unique eye shape. While there are countless variations, most eyes fall into these primary categories:
Almond Eyes
Characterized by a slight upward tilt and visible lid space. These are considered the "standard" eye shape in makeup tutorials.
Enhancement strategy: Nearly all techniques work well; focus on accentuating the natural almond shape.
Round Eyes
Appear more circular with visible white around the iris and pronounced lid space.
Enhancement strategy: Create elongation using winged liner and deeper outer corner shading.
Hooded Eyes
Have minimal visible lid space when open, with skin from the brow bone that partially covers the crease.
Enhancement strategy: Create depth with matte shadows slightly above the natural crease and focus on liner techniques that remain visible with eyes open.
Monolid Eyes
Have little to no visible crease, creating one continuous space from lash line to brow.
Enhancement strategy: Work with gradients of color and intensity rather than traditional crease definition; consider "spotlight" techniques that add dimension.
Downturned Eyes
Have a slight downward tilt at the outer corners.
Enhancement strategy: Create lift with upward-angled shadow placement and winged liner that counteracts the downward pull.
Deep-Set Eyes
Set deeper into the skull with a prominent brow bone.
Enhancement strategy: Bring eyes forward with lighter shades on the lid and minimal darkness in the crease.
Protruding Eyes
Appear to project forward from the face with very visible lid space.
Enhancement strategy: Create recession with deeper tones on the lid and lighter shades at the brow bone.
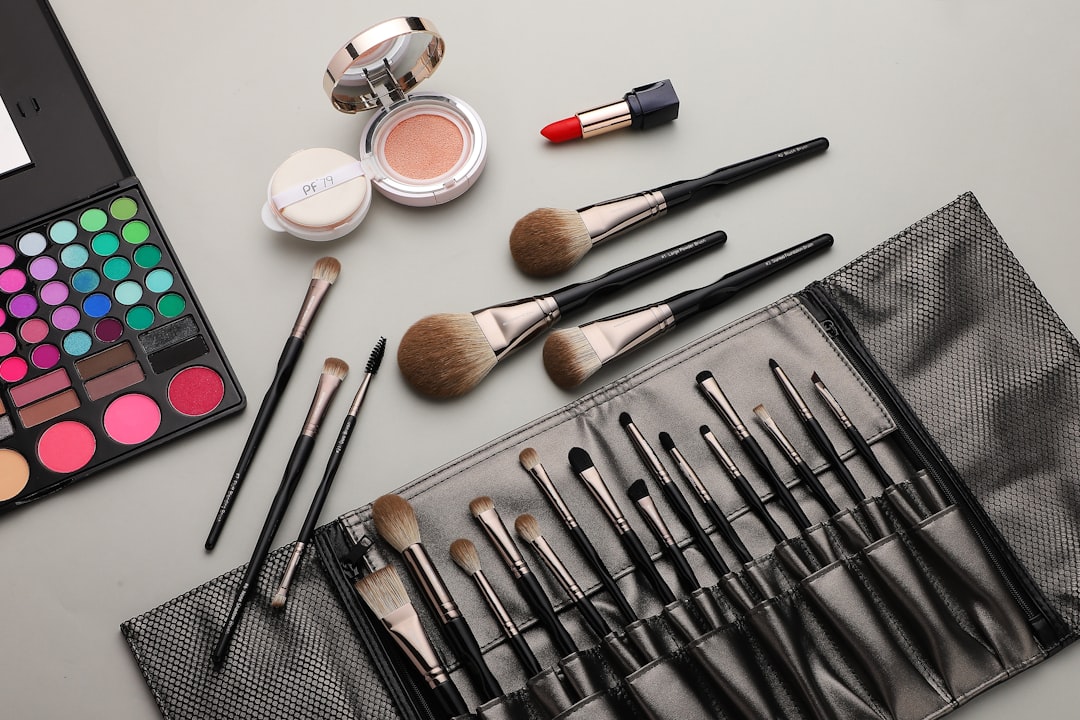
Essential Tools for Eye Makeup Excellence
Quality tools make a significant difference in application precision and final results:
Brushes
- Fluffy blending brush: Essential for seamless transitions between colors
- Flat shader brush: For packing color onto the lid
- Small precision brush: For detail work, inner corners, and lower lash line
- Angled liner brush: For precise liner application and brow definition
- Smudge brush: For softening liner and creating smoky effects
Additional Tools
- Eyelash curler: Properly fitted to your eye shape
- Shadow shields or medical tape: For clean application and preventing fallout
- Cotton swabs and micellar water: For precision cleanup
Eye Makeup Steps: A Professional Approach
Step 1: Preparation
Proper preparation creates the foundation for long-lasting, crease-free eye makeup:
- Cleanse the eye area and apply eye cream, allowing it to fully absorb
- Apply a specialized eye primer from lash line to brow bone
- For intense color payoff, add a thin layer of concealer or cream shadow as a base
- Set with a translucent powder or neutral shadow that matches your skin tone
Step 2: Creating Dimension
The key to professional-looking eye makeup is creating dimension through strategic color placement:
- Apply a transition shade (slightly darker than your skin tone) in the crease, blending upward
- Deepen the outer corner and crease with a medium-toned shadow
- Add your lid color, focusing on the center and inner portions
- Highlight the inner corner and brow bone with a light, reflective shade
Step 3: Liner Application
Eyeliner creates definition and can dramatically change the appearance of eye shape:
- Tightlining: Apply liner to the upper waterline to create the appearance of fuller lashes without taking up lid space
- Upper lash line: Apply liner as close to the lash line as possible, thickening as desired
- Wings and flicks: Extend liner outward following the natural upward angle of your lower lash line
- Lower lash line: Consider a softer approach with shadow or a smudged pencil
Step 4: Mascara and Lashes
The finishing touches that frame the eyes and complete the look:
- Curl lashes before mascara application, holding the curler at the base for 10-15 seconds
- Apply mascara from the roots of lashes, wiggling the wand upward
- For a more dramatic effect, apply a second coat after the first has slightly dried
- False lashes should be trimmed to fit your eye width and applied with a high-quality lash adhesive
Advanced Techniques for Different Eye Concerns
For Hooded Eyes
- Create your "crease" slightly above the natural fold while eyes are open
- Use "bat wing" liner technique that's visible with eyes open
- Focus shimmer on the center of the lid only to create depth
- Consider a "floating crease" technique for dramatic looks
For Mature Eyes
- Prioritize proper priming to prevent creasing and migration
- Favor matte or satin finishes over high-shine metallics
- Soften liner with shadow for a more flattering effect
- Focus on lash definition with individual lashes rather than heavy strips
For Close-Set Eyes
- Concentrate darker colors on the outer third of the eye
- Highlight the inner corners generously
- Avoid extending liner too far into the inner corner
For Wide-Set Eyes
- Focus darker shades on the inner corners to visually bring eyes closer
- Extend liner toward the inner corners
- Keep the outer corner relatively lighter
Color Theory for Eye Makeup
Understanding color theory allows you to make strategic choices that enhance your natural eye color:
Blue Eyes
- Copper, bronze, and warm brown tones create stunning contrast
- Warm purples and terracottas intensify blue hues
- Avoid blue shadows that can make blue eyes appear dull
Green Eyes
- Purple and mauve tones make green eyes appear more vibrant
- Rich burgundies and cranberry shades create beautiful contrast
- Warm browns with red undertones enhance green tones
Brown Eyes
- Blue and teal shades create striking contrast
- Purple and plum bring out golden flecks in brown eyes
- Brown eyes are versatile and can wear virtually any color successfully
Hazel Eyes
- Purple enhances the green tones in hazel eyes
- Bronze and copper bring out golden flecks
- Mossy greens intensify the complexity of hazel eyes
Professional Product Recommendations
Eye Primers
- Urban Decay Primer Potion for all-day wear
- NARS Smudge Proof Eyeshadow Base for oily lids
- P.Louise Base for maximum color intensity
Eyeshadow Palettes
- Viseart Neutral Mattes for essential blending shades
- Pat McGrath Mothership palettes for luxury special occasion looks
- Natasha Denona palettes for exceptional pigmentation and blendability
Eyeliners
- Bobbi Brown Gel Liner for precision application
- Marc Jacobs Highliner for waterline application
- Stila Stay All Day Liquid Liner for defined wings
Mascaras
- Lancôme Hypnôse for dramatic volume
- Dior Diorshow for length and separation
- Maybelline Lash Sensational for an excellent budget option
Common Mistakes and Solutions
Mistake: Muddy Eye Makeup
Solution: Clean your brushes between colors and use a clean blending brush for transitions. Consider the "windshield wiper" motion for blending rather than circular motions that can over-blend.
Mistake: Eyeshadow Fallout
Solution: Do eye makeup before foundation, or place loose powder under eyes to catch fallout. Tap excess product off brushes before application.
Mistake: Uneven Winged Liner
Solution: Use small, connected strokes rather than trying to create the wing in one motion. Consider using a piece of tape as a guide or a credit card for a straight edge.
Mistake: Mascara Smudging
Solution: Use waterproof formulas on lower lashes, set undereye concealer thoroughly, and consider tubing mascaras for extremely oily lids or watery eyes.
Conclusion
Eye makeup is both a science and an art – understanding the technical aspects of application while allowing for creative expression. The techniques shared in this masterclass provide a foundation upon which you can build your own signature eye looks.
Remember that practice is essential for improvement. Consider dedicating time to focusing on one specific technique until you master it before moving on to more complex applications.
For personalized eye makeup advice tailored to your specific features, consider booking a one-on-one makeup lesson with our team. We can address your unique concerns and develop techniques specifically for your eye shape, coloring, and lifestyle needs.